Hello, and welcome to my little spot on this years blog hop for the New Bloggers!
My name is Eleanor, and this is my cat Perdie
Perdie just loves quilts. And fabric. And the ironing board. And watching fabric be washed. And wadding. She loves it all, she's just terrible at posing for photographs (and yet, better than me). She's called Perdie after Perdita in 101 Dalmations - she was a teeny tiny little thing when someone found her, lost, on the road and thought she must be ours. She's now a whopper who is supposed to be on a diet...
I've been quilting for 6-7 years now. I started it a little while after I finished university, and I credit it with keeping me sane through some hard times! I was delighted to find a craft that was mine. I have an incredibly crafty family! My dad works with wood and metal, my mum knits and crochets, my sister makes jewellery, my aunt makes cards, my granny did everything - lace, knitting, you name it! Most of my stash is from some shops in the area and isn't particularly modern, but I'm currently trying to work through it in order to build a more modern feeling. I also have some WIPs that have been hanging around a long time, so I'm trying to get those finally finished too! Truthfully, I'm fickle - I like working on lots of things, lots of types of things and lots of patterns of fabric! It may not be fashionable, but I just like keeping a variety of things going. I work with my mum - I do most of it, but we're still a team and most things have both of our work in them, even if it's just binding!
I'm very lucky to have a studio to work in! We used to milk cows here at the house, but not any more - all our animals are now on a farm that we travel to every day. I took advantage and converted an old byre (cowshed) into my very own slice of heaven! From 5 cows to this:
It's not that tidy at the minute! It is, in fact, a total mess! But I've turned up some interesting things when tidying one corner, of which later! Do you see the awesome table in the left there? My dad made that for me. It has five sides, no two of which have the same length, and five corners, no two of which are the same as the corner isn't a right angle! I LOVE my table - I can fit a whole quilt on there to work on, and I have these cool cupboards from IKEA that I can use to extend the table for something huge/unco-operative.
Here are a few photos of things I've done that I particularly like:
I made this for a class I was taking - it was supposed to be for beginners, but I took it hoping more classes would be made available afterwards which would lead to a degree in textiles. The other classes didn't happen, but I love this quilt. It started off as a standard Jacob's Ladder, then I rearranged parts before it was sewn together. My only regret is that I didn't have enough fabric to make it a 4 x 4 setting. You can't see it here, but I quilted each colour in a different pattern - lines on yellow, stippling on white, spirals on pink and a micro squared stipple on the green. All the quilting was in white, so it just lead from one to the other. When you see it in person, the back (all white) looks like a whole cloth of the patchwork pattern.

I made this for Fiddlesticks Fabrics, a shop I've made quite a few samples for. While I don't like the quilting (black and white variegated) as the thread does weird things, I still love the graphic impact of this. I called this "Newspaper" - black and white and red all over. I'm absolutely useless at naming things!
This was the other item made for the class I mentioned above. I'd had the idea of a clock for ages, but not a pattern, then it suddenly came to me that I could combine clock and colour wheel in one. Unfortunately, while the clock is made, I haven't yet worked out a way to get it hanging - the clock mechanism is about 3/4" deep so it can't lie plumb to the wall (which is also what is making it look not flat here). Soon though! Weirdly, the wheel works better in person than it does in the photograph. I drew the numbers myself, and this was the first time I'd tried satin stitch.
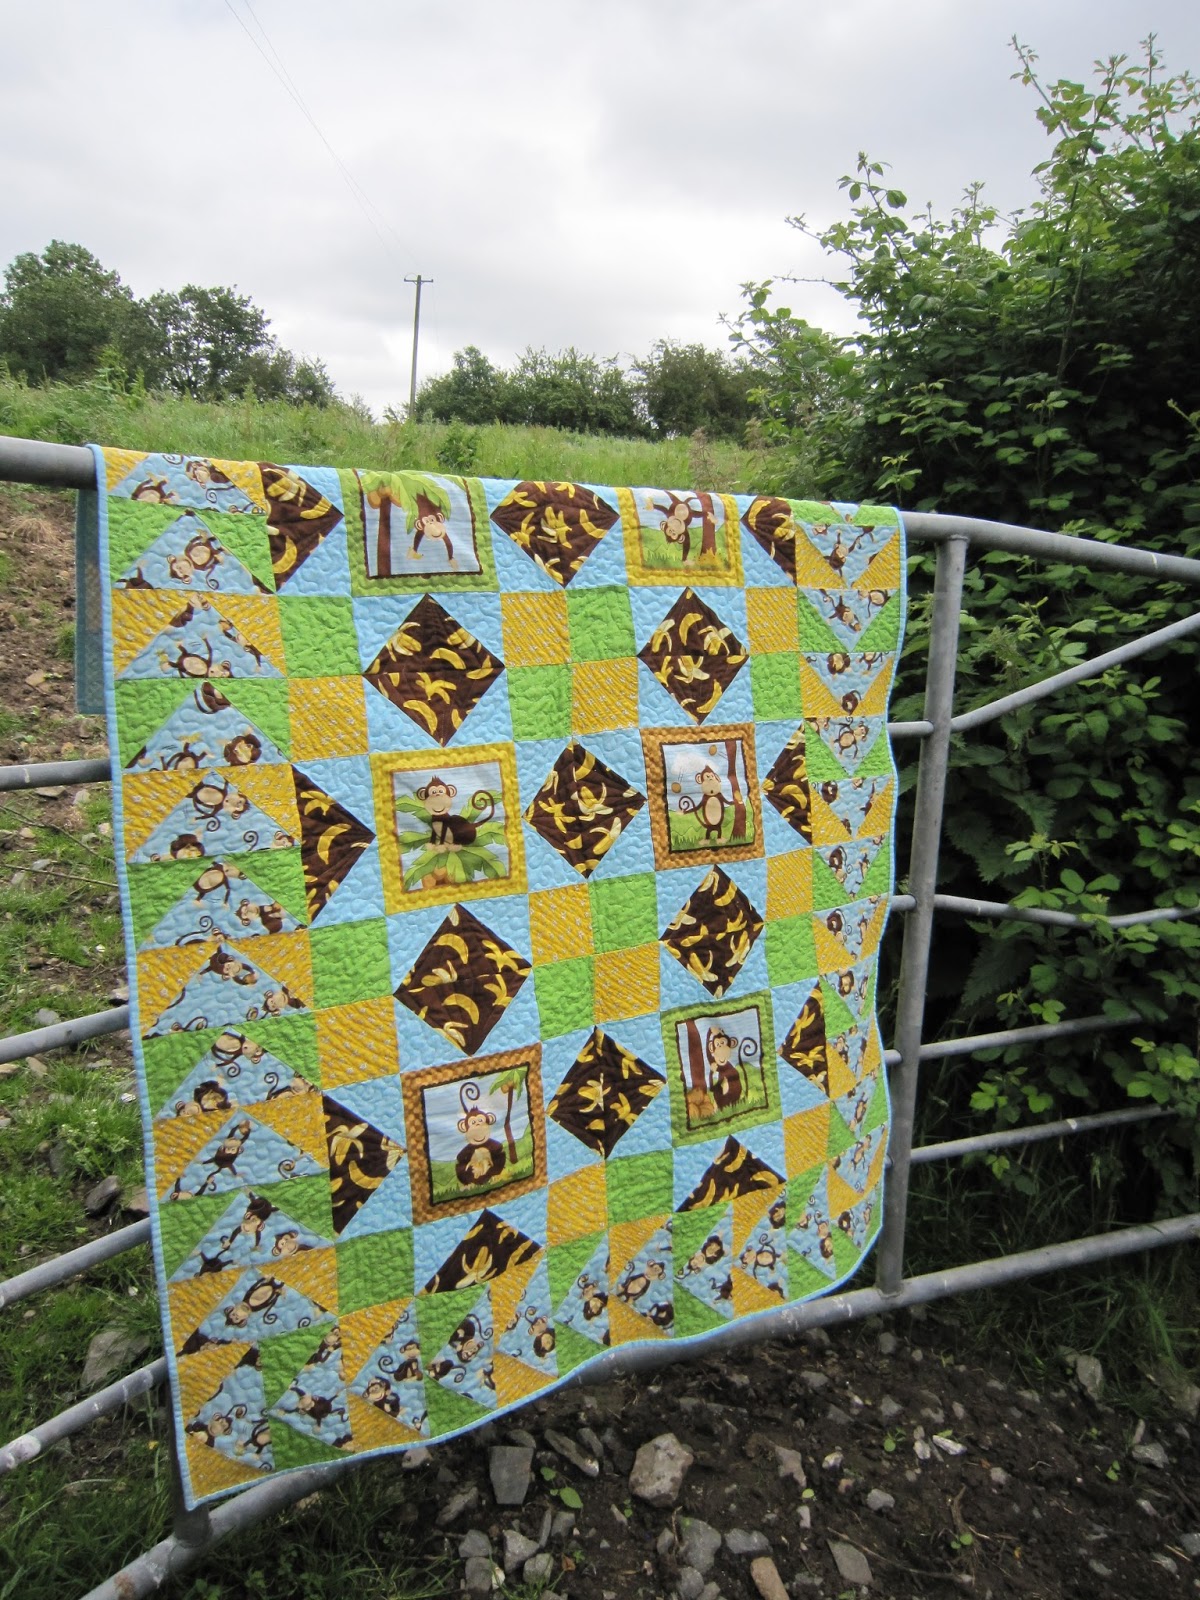
I was asked to make this baby quilt last year. It was to be Irish themed, with appliqués of a cow, shamrock, teddy, doll... I drew the appliques myself and used the Irish chain for the theming - inch and a half squares! I've included this here because I was quite happy with my appliques - especially the teddy and doll!
I had had the idea in my head for a while of a bag split into two sections. When asked to make a sample from these fabrics, I decided to try the idea. The two flaps are for the two sections - lift the top flap and you're into one half of the bag, lift both to be in the other section. I love making bags!
Which brings me to the end! However, if you pop back here over the week, you'll find some free patterns and tutorials for things including a bag, pincushion, something for Christmas and something scrappy! To top it all off, I discovered I have some duplicate magazines (Love Patchwork and Quilting) due to an error in postage - I was told to share them at the time, but they got put to one side. So now, I intend doing a little giveaway later in the week!
A few tips:
Don't get discouraged at what you see on other blogs. Some people work faster than you, that happens. They may have a better range of fabric available for them to buy than you. What you need to do is take pleasure in what you do and use other blogs as a jump off point for yourself. Enjoy the process of what you are doing instead of rushing. Love the fabrics you have, they deserve that! If they don't work quite as you hoped, chalk it up to experience. If you struggle with something - ask for help. Bloggers are so helpful - the New Bloggers group have helped me with etiquette, picture editing, social media buttons* - and if you ask, someone will help. The same thing goes for techniques
*My flickr page is very much a work in progress, started after issues getting pictures uploaded. Nothing to see there yet!
So, if you're still here, I'd like to direct you towards the other brave souls who will be posting their introductions this week!
My hivemates in Sewcial Swarm:
If you do comment, I'd love to know what you think is totally under rated or over rated in the world of quilting! What (patterns, fabric etc) would you like to see more of, and conversely is there anything you could happily live without seeing again?!
A couple of quick bits of trivia about me:
I have one long sighted eye and one short sighted eye;
I have two degrees from the University of St Andrews in Scotland, loved it!;
I lived in France for a year;
I love reading and read really quickly;
I broke my elbow and it is now exactly like Jem's in To Kill a Mockingbird (oh, to read To Set A Watchman or not!).