Pages

Showing posts with label New Bloggers 2015. Show all posts

Thursday, 3 September 2015

Fabri-Quilt Block blog hop

Hi,
it's my turn on the Fabri-Quilt Blog Hop - a little late due to a delay in my computer getting fixed and some software issues when it returned!  Anyway, here's my block

Simple Scrappy Block

I wanted to make a block that would tessellate, and be as suitable with lots and lots of colours as with just 6!  Put this together with some more blocks, and it will form pinwheels, and also some little Broken Dish units to give structure to all the scrappy mayhem!

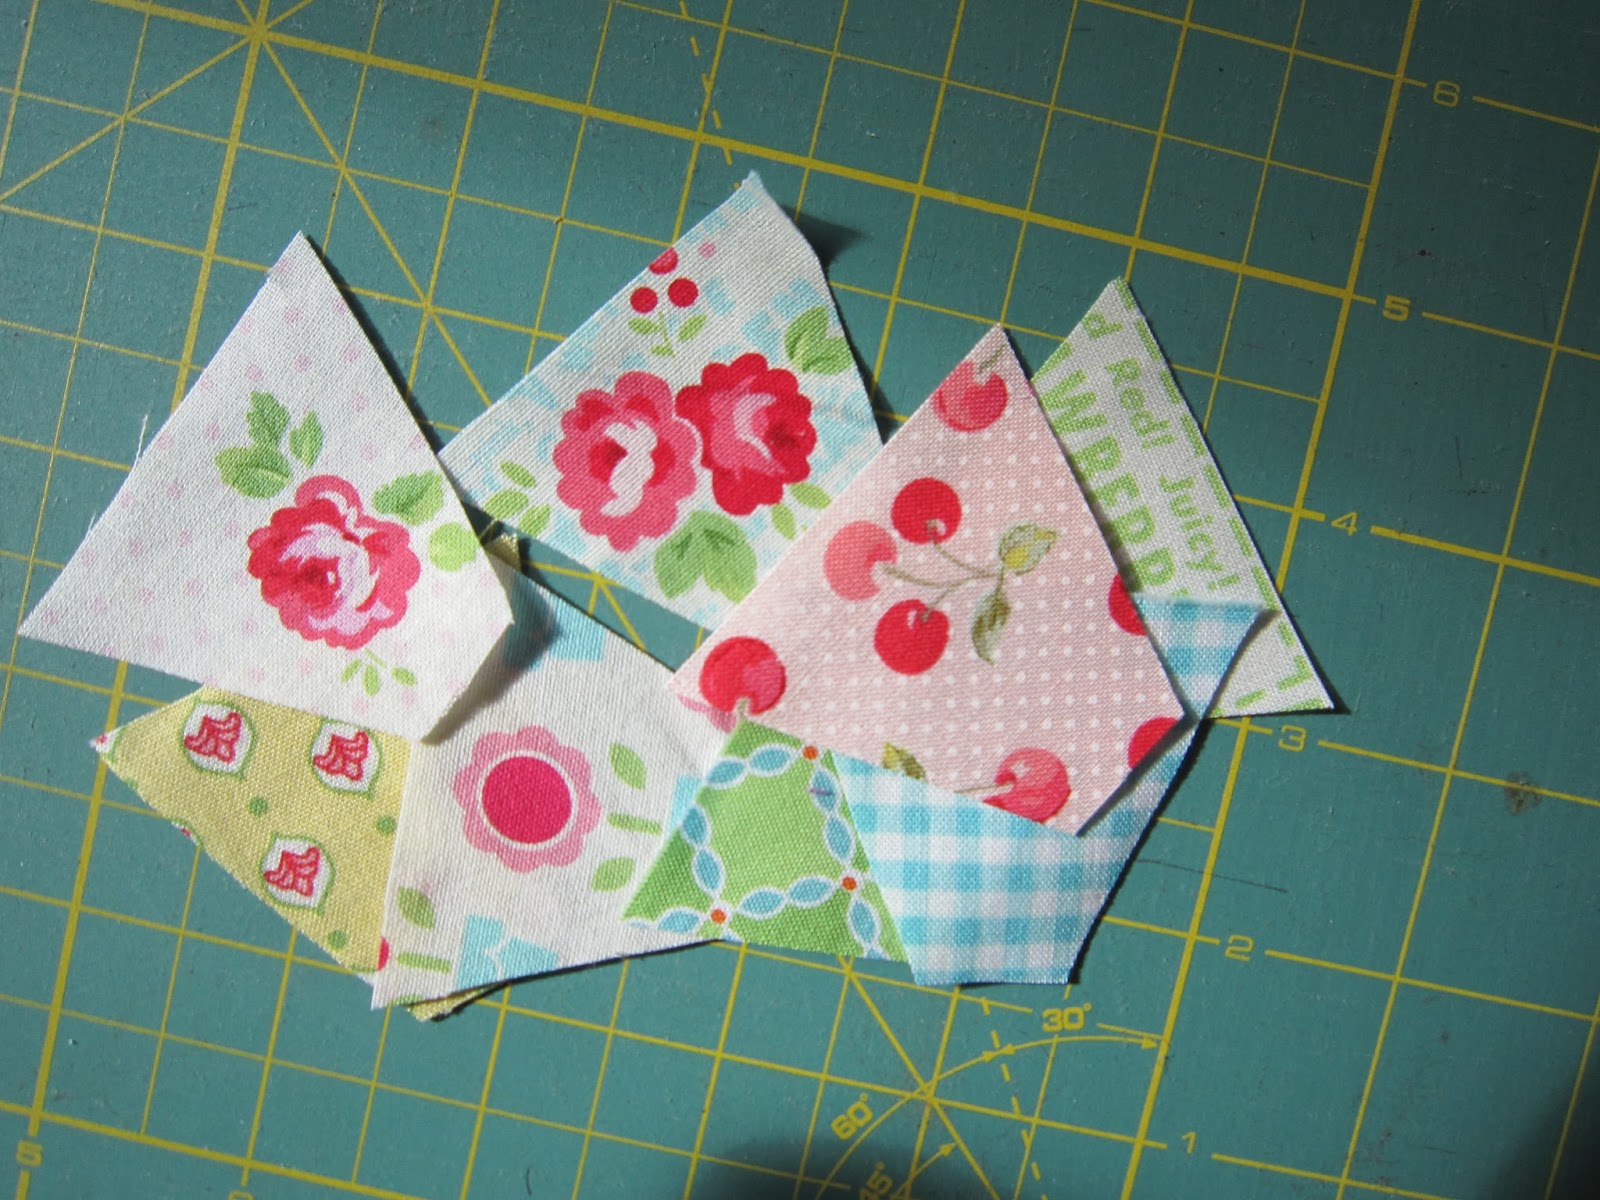
Firstly, pick out two colours for the half square triangles - I chose the darkest (dark blue) and lightest (white).  From these fabrics cut 2 x 3”7/8 squares. On the light fabric, draw a diagonal line on the back of each square.
 Offset the ruler slightly so that when you draw your line, it will go exactly from corner to corner!
Put this right sides together with your dark fabric and sew a quarter of an inch away from the line:
on each side of the drawn line:
See how I have something sewn just before feeding this in?  This will stop the machine from munching on the corner that you are feeding in.

When sewn, cut on the drawn line:
 set your seam (so press it as is)
 then press open.
 Setting the seam means it will then open (or indeed press to either side) without having to pull at it.
Trim off the dog ears:
 And that's the corners made! 

Now, the block requires 36 2" squares.  As I have 4 other fabrics, I can cut 9 of each.  If you are doing a scrappy block, they could be all different!  In addition to the 2" squares, you will also need 6 x 2”3/8 squares, as well as 3 x 2" 3/8 squares of both the white and the dark blue fabrics. Make 12 half square triangle units.

Now it's time to arrange them!  Take care with the orientation of the small half square triangles on the edge - you want these to combine with other blocks to make a Broken Dish - that's the same as what's in the very centre.

Starting with the short rows between the corner units, sew into rows.
 Press the seams on one row towards the left, and the other row towards the right.  Sew the rows together, nesting the seams.  This is what I mean:
 making sure the squares meet in the middle.  You can use your fingers to gently push them together until they butt up against each other.  Pin (I always pin on the side that feeds into the machine last; this helps to keep them meeting.  On a bulky seam, I pin both sides) and sew.

Press this seam open to reduce bulk, and sew a corner unit to each end.  Repeat for the other end of the block.  Sew all remaining rows together, and press open.  Hey presto, a really easy block!

I hope you like this little block and this Blog Hop!  Thank you so much to Fabri-Quilt, our sponsors, and the lovely lovely ladies at the 2015 New Bloggers who have arranged this and spent so much time and effort on it.  I'm off now to catch up on all the other blocks that have been posted!

Sunday, 19 July 2015

Giveaway!

As promised, here's my little giveaway to celebrate the end of this week on the New Bloggers!  As I said earlier, I discovered I had duplicates of these magazines, so thought why not!

The first giveaway is for these two magazines!  Both Love Patchwork and Quilting, issues 12 and 22.  Both free gifts are included, everything is in good condition.

 Here are some of the things in these magazines I particularly like:

 I'm making this soon!
 Love this rabbit, have made it a couple of times!


 The second giveaway is for issue 12 of Love Patchwork and Quilting and for this book:
 The first book by the Quilt Room featuring pre-cuts, there's loads of good patterns in this.
 This is the jelly roll pattern I've been working at recently.

I made this a few years ago and loved it!

So there we go.  This will be open for a week, finishing next Sunday 26th.  Please comment whether you would like giveaway 1 or 2 (or both, why not!).  If you are following me on blogger or bloglovin, you get another entry, just mention that in your comment.  No need to comment again!  I may be including a little extra surprise too!  Entries are available world-wide.

Thursday, 16 July 2015

Dresden plate pincushion

This is going to be the last of the patterns I'll be posting this week - unfortunately some things have come up and I won't be able to do the Christmas cushion I promised this week, but soon!

As with previous tutes this week, I'll be talking through how to draft this yourself.

Firstly, draw an approx. 5 1/2" circle on paper.  Cut it out, and fold carefully in half, half again and half again - so into 8.  Cut out one of these segments, and trim off the curved end:
 and a bit off the other end (I actually trimmed a bit more of this).

 Cut out 8 from your fabrics - I have 8 different fabrics, but just two or four would be really cute too!
 Fold in half along the top edge
 sew and clip off the little corner.
 Fingerpress open
 and turn right sides out.
 Arrange
 and sew together.  Your plate will be approx. 3 1/2" wide.
 Applique onto your background fabric, making sure you'll have enough for a 1/4" seam allowance.
 Look at this lovely ladder stitch!
 Note:  I chose to stuff my plate, which I did near the end.  If you don't want to do this, applique a circle over the middle at this stage.
Draw a circle around your plate - I used a small embroidery hoop approx. 4" wide.

 Cut out, and another circle the same size.

Prepare a length to go around it - circumference is a little more than 3x than the diametre, so we'll say 12 1/2", plus at least 1/2" more.  Press under 1/2" at one end, wrong sides facing.
 Starting with this end, pin all around one of your circles (I used the one with the applique on it)
 Ensure you have at least 1/2" overlap, and trim off excess.
 Sew the other end on.  Stuff firmly:
 and sew up the hole in the side.  (Disclosure, I went back, ripped out the stitches and stuffed more in...  so much stuffing!)
 I chose to stuff my little plate, this is optional.  If you do, be very careful not to pull out stitches.
 Prepare a circle for the centre of the plate.  I used a Perfect Circles template, but you could draw round a spool and use that.  I used starch to control the seam allowance.

 Applique over the centre, and that's it!  All done!

Tuesday, 14 July 2015

Stitch and flip tutorial

Hi,
I'm back with my first tutorial of this New Bloggers week!  Today, I'm going to show you something very simple - stitch and flip to make crazy shapes.  It's a great way to use tiny scraps.

Firstly, prepare you shape.  The easiest way to do this is by folding a sheet of paper in half and drawing half of your shape:


There we go, a perfectly symmetrical shape!  I advise using the crappiest, lightest paper you can find for this, and reduce your stitch length down - I went from 2.5 to 1.

 Place your first fabric in the centre.  I usually start with a motif of some kind.
 Position your next fabric on top, and sew 1/4" from the edge.
 Fingerpress open
 and continue around.  Note how I'm not necessarily using the initial shape, but cutting off different angles.  Here's how I worked out to the edge:


 Work out until you have covered your paper template.  Tear off the paper (that's the fun bit!)

There are a couple of little shreds of paper left, I wasn't too bothered about those.  Position right sides together with your backing fabric, inserting your ribbon (ric rac here)
This is how I prepped the points - trim across, and taper into the point.  For innies, snip in as close to the point as possible.  On curves, clip little 'v's.

Turn, press, and sew up. I use a ladder stitch, which is what I use to sew up anything like this, to sew binding on, EPP, even for applique when the edges are turned in.  It's the most common hand sewing stitch I use!

 Use matching thread where possible - here I'm using a contrast to show you.  Knot your thread, and bring it up, starting where the machine stitching is still holding.  This means that any difference between the machine sewing and hand sewing is minimised.
 Inset the needle on the other fabric directly opposite where you came out.  Make a short stitch under the fold.
Here's how little this stitch shows!  The trick is to keep the thread relatively taut, and, as above, as close to where your needle emerged as possible.  So much better than a whip or slip stitch!

Hopefully you can see how this little technique can be adapted to a variety of shapes!  I made a star and Christmas tree out of festive fabrics (my mum loves Christmas fabric, I have more scraps than I can possible ever use!).  I've made smaller hearts in the past, expressly to use the tinier scraps.  You can insert lace or ric rac, use decorative stitches on your machine or embroidery.  You can use this technique to make the shape, then use fusible interfacing to adhere and use as appliqué.