
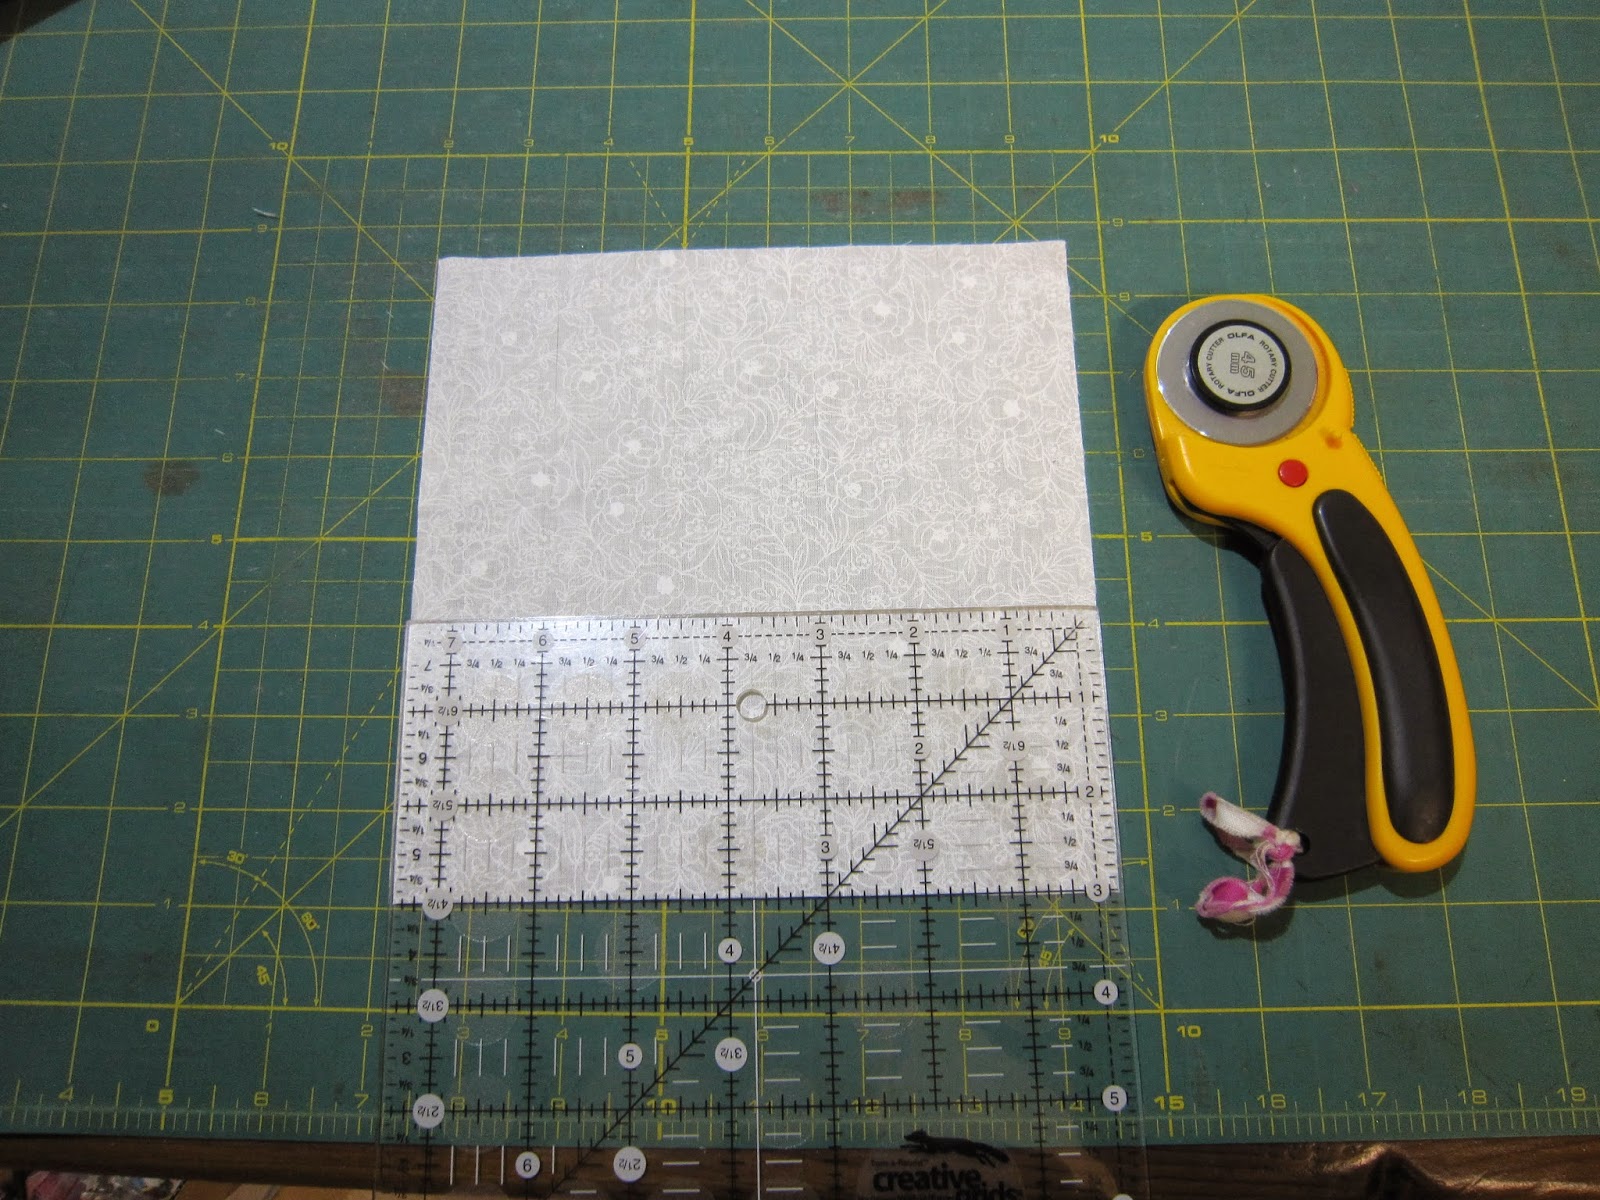
Firstly, work out the maths. I was cutting 1 1/2" squares, and using a 7 1/2" ruler. This means if I used a square of fabric 7 1/2" square, by then cutting along 1 1/2", 3", 4 1/2" & 6" measurements:


If you need to mark the squares, make sure you started with the initial square of fabric turned wrong side up before sub-cutting into squares. Then position your ruler from corner to corner of the lower left square (I always off-set the ruler slightly to make sure that the line marked runs exactly from corner to corner) and mark.


25 squares cut and marked in a fraction of the time it takes to cut or mark individually! It takes a little more time to position the ruler for marking, but it is more than worth it.
Just adapt the theory for other size squares/rulers. A 7 1/2" ruler would cut 9 2 1/2" squares, or 4 3" squares. So easy! You don't need to start with a square - I earlier cut a 3x4" rectangle into 12 1" squares.
Oh I LIKE your marking the diagonals before you move any of the squares tip! I've quilted for 20 years, and have NEVER seen this anywhere, and I sure could have used seeing this before I cut (wait...I still have a bunch of white to cut, yay) squares for Cheryl's pattern-testing I'm doing. Thank you!!
ReplyDeleteOooo, I like the quick marking. Thanks for sharing. I just popped over from Sandra's blog (Musings of a Menopausal Melon).
ReplyDelete